I can't express how excited I am that you found this site, this place - my place.
I hope you get a bit of enjoyment and a smile comes to your face when you read my posts and look at my work. Enjoy -

Monday, February 27, 2012

Happy Birthday Scraps

Can you tell that I'm on a mission?  I have a TON of scrap paper that I want to use and what better way than to make cards and scrapbook embellishments. 

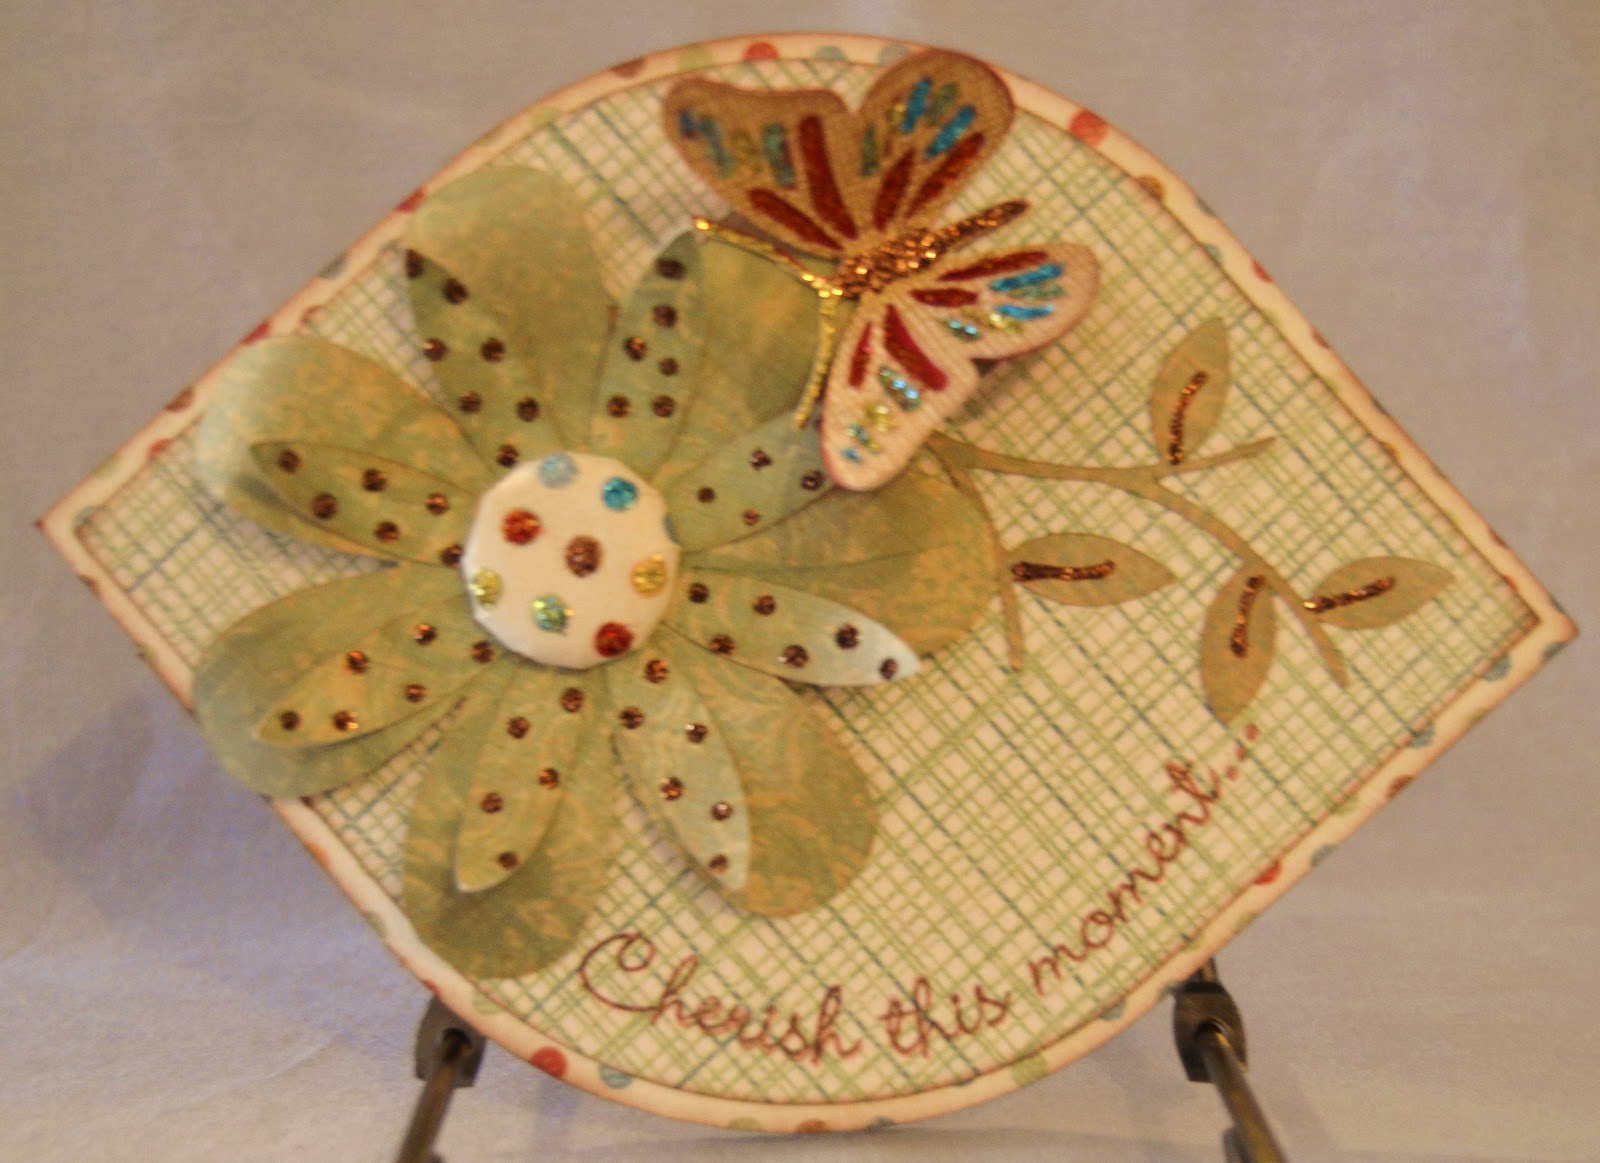
Today, I'm sharing a card for a friend of my daughter.  I decided that I wanted to add a bit of stitching to it, so I ruffled 1 1/2 inch ribbon and attached it to the card.  Let me give you the recipe first . . .

*card base - scrap patterned paper (as usual, don't know the name) cut at an A2 size
*Cricut cut - number mesh cut at 5x3.75 (Art Philosophy) out of craft paper
*green with brown polka dots ribbon from Hobby Lobby
*scalloped circle (1 3/4 in.) out of craft paper
*circle (1 5/8) out of brown scrap paper (didn't have a big piece)
*circle (1 1/2) out of the reverse side of the card base paper
*CTMH ink in New England Ivy
*birthday stamp set from Creative Time's "All Around Birthdays" stamp set


I cut and folded the card base.  Then I used the reverse side to make a base for the number mesh.  After adhering the mesh to the mat base, I ruffled the ribbon and stitched it on the mesh.  Then I stitched the mat onto the card base.  It may seem like a lot of sewing, but it's really not.

When all the layers were set, I stamped the "Happy Birthday" on the round green piece and adhered that to the other layers for the medalion.  I used pop dots for the medalion in order to raise it above the ruffles of the ribbon.  Otherwise, it may get lost in the dimension of the ruffles.

I hope the recipent likes it.  Can you tell how old she'll be on her next birthday??? teehee

By the way, I took the picture in the laundry room and I think it turned out better than my other ones.  I don't have a light box and haven't gotten around to making one.  I'm beginning to think that I don't need to.  What do you think?

Thanks for looking.  I hope you get inspired and can take something from this to create your own masterpiece.  Gotta love it!  :)

Friday, February 24, 2012

Once again, it's about the scraps . . .

I thought I'd share a baby shower card I made for a friend of my daughter.  If you look closely, you'll notice a bit of sheen on the embellishment (baby bottle).  I tried something new . . . I sprayed the embellishment with polyurethane.  I thought I'd try to add some sheen, but it may have backfired.

Anyway, I'm sharing it so you can see the effects.  By the way, before anyone asks, I sprayed it it separately from the card.  In other words, it was not on the card when I sprayed it.  It was hard to get a good angle, but I'm showing it in two different views.

WARNING . . . I'm really into using up my scraps.  I have so many parts and pieces of beautiful papers that I feel the need to use them up.


Recipe:
*premade A2 card and envelope in offwhite
*once again, scrap paper in pink gingham, light pink, dark pink, pink polka dot, light tan, and light green (gotta love it!)
*green ribbon with pink polka dots from Hobby Lobby
*EK success border punch
*CTMH stamp pad in New England Ivy
*CTMH stamp pad in Watermelon for the inking around the edges
*sentiment stamp from My Creative Time (love it!)
*light pink and kiwi green stickles


I cut the baby bottle at 3 inches from the Baby Steps Cricut cartridge.  I cut the little flower on the front of the bottle twice because the cut was with the bottle ring and I wanted it in different colors.  Because I cut it twice, I had extra cuts that just HAD to be used.  Know what I mean??? 

Okay, so I used the extra cuts to make the little tulip that graces the inside of the card.  Isn't it cute?

Anyway . . . that's it.  I'm off to help my daughter with this baby shower.  I'll try to take pictures of some of the other decorations I made and show in another post.  Gotta love it!

Thanks for looking . . . and in the infamous words of a former governor, "I'll be back!"  teehee

Wednesday, February 15, 2012

Coverage . . .


Like it?  It's my Cricut cover.  I didn't use a premade pattern.  All I used was the mouse pad that came with my Design Studio purchase several years ago.  That formed the the pattern for the end pieces. 

Once I got that cut, I laid a piece of quited fabric over my Cricut to get an idea of how much I would need for the actual cover.  I then stitched the end pieces to the the cover piece, attached quilt binding all around the bottom, and  . . . Voila!  A Cricut cover.

Then, I took it to my local embroidery shop and had them put my initials in the center.  I REALLY like this font.  It's fun and creative. 

The initials are in lime green and the cover is a deep chocolate brown.  Btw, some of my cartridges are on a floating shelf in the background.  What you see on the right is a homemade ribbon spool.  I took a dowel, a wooden base, and drilled, glued, and painted them.  I use washers in between the spools of ribbon to help them turn easier when pulling off lengths of ribbon.  One of these days, I'll show you what I use to store large spools.  (It's in the closet.)

Hope you like it.  I'll be engaged in creative endeavors this weekend while connecting on a personal level with some peers.  In other words, I'm goin' scrappin'!!!  WOOHOO!  Gotta love it!

I'll be in touch.  See ya . . .

Saturday, February 11, 2012

Cherish this moment . . .

Okay . . . so this time, I've made a card for a challenge organized by Emma on her blog at http://www.creativetimeforme.com/ The challenge was to make something with a bug on it. 

Well, my favorite bug (if there can be such a thing) is a ladybug.  They are cute, red, and ungross.  However, I don't want to "ladybug" myself out, so I thought I would try a butterfly.  I don't usually put butterflies on things because so many people use them, but I found the most beautiful butterfly shape I've seen on a Cricut cartridge, and it's on the Hannah Montana cartridge.  Who knew???


I need to apologize for the blurriness of the photo.  I can't seem to get my new camera operating to my expectations.  Could it possibly be the photographer?  I'll keep trying . . .  anyway . . .

The card shape and mat were cut at 5 inches and 4 3/4 inches respectively from my Art Philosophy cartridge. The card is cut from a multi-colored polka dot pattern (scrap paper) that is white on the back so the inside of the card is white.  I used a mat that's a green weave pattern for the cover (using up my scraps here).  I cut the butterfly out at 1 1/2 inches (using Coordinations cardstock) and the shadow (in a basic red) is the same size.  I inked the edges in dark brown and then I went Stickle crazy.  I used the same colors for my Stickles that are on the background paper.  The flowers and branch are also out of scrap paper (gotta love it!) and also came from the Art Philosophy cartridge.  I used Emma's "Cherish This Moment" stamp from her "Cherish This Moment" stamp set.  One of the cool things about her stamps (other than the quality) is the fact that you can curve them on your block.  Isn't that just the neatest thing?  I love it!  Next time, I'll use a darker brown for the stamp, but I think it still turned out beautifully.

Using up scrap paper . . . I have so many neat patterns and pieces that go so well together.  Unfortunately, I've cut the name off so I have no idea where or what the pattern is from.  Sorry . . .

I think this one is my favorite.  I really REALLY like the bling.  Hope you like it too. 

Ah-h-h-h-h . . . another project down.  Gotta love it!

Thanks for looking and I'll be around . . .  :)))

Thursday, February 9, 2012

So soon?

Yup . . . I'm back.  I started thinking about all those projects and things I'd made for weddings, peers, and stuff and thought I'd share.  After all, that's what this blog is about, right?

Anyway, when I finally got my own craft room, I decided that I wanted a way to keep dust out of a few of my prized crafting/sewing tools.  I had no pattern - just measured, cut, and stitched these up.  Then I took them to a local print and embroidery shop (Who Dey) for the embroidery.


On the right, I have a pocket for bias tape or whatever is in a fairly wide package.  On the left, I have a set of double pockets (taller) that are used to house my pinking shears and fabric scissors.  If you can tell, my pinking shears have a green handle to match the cover (love it!)

Anyway, the back right corner is finished, but not seamed.  I did that to allow the power cord freedom to come out from my machine without having to fold it and risk it coming unplugged.

I used brown bias tape to finish all the edges and the embroidery is in dark brown also.  While I'm not really the "matchy-matchy" kind of person, I do like the cohesiveness of the look.  It brings all the other covers into alignment and makes my craft space a bit more organized feeling.  Notice I said "feeling".  lol

I'll try to be back in the next week or so with another picture of the "organization" in my craft room.  Until then, I'll be around . . .

Wednesday, February 8, 2012

I'm back . . . . . . .

Yup . . . I know it's been a long time.  Yup, it's been awhile.  That's what happens when you have a daughter get engaged, plan a wedding, get married, and have to do it all over again for your brother.  I wouldn't trade it for the world!

Yup, it's been a long time.

Anyway, thought I'd share this little project that I did for a Peachy Keen Challenge.  It's made out of a toilet paper roll and other odds and ends.  Let me explain . . .

I took a toilet paper roll and made about six 1/2 inch cuts on both ends and folded the pieces into the roll.  I did that to shorten it a bit and to give it a more stable base.  Then I cut a piece of black harlequin scrapbook paper (had it a long time so not sure what kind but I think I got it from Hobby Lobby) and wrapped it around the roll.  I then made random cuts in the top piece to make the edges look raggedy.  Then I wrapped some baker's twine in red cherry several times around the top piece and tied it into a bow.  Next I cut a round piece of red cardstock and adhered it to the bottom.  Then I cut two hearts and their shadows from the Doodlecharms Cricut cartridge.  I flipped one of them and layered them on their shadows of red gingham paper. 

Now, the good part!  I used the Corny Faces stamp set from Peachy Keen Stamps to stamp the cute faces.  I just love the buck teeth!!!  Anyway, I added some pink chalk to the cheeks and the edges of the white hearts, added faux stitching, and popped them up.  Voila!

Isn't it cute?!  I could use this to give Valentine goodies to special people or just sit it on my shelf and look at it.  Ahhh . . . creativity . . . don't ya just love it?