I can't express how excited I am that you found this site, this place - my place.
I hope you get a bit of enjoyment and a smile comes to your face when you read my posts and look at my work. Enjoy -
Showing posts with label Organization Stuff. Show all posts

Sunday, March 4, 2012

Another one . . .

Hi guys!  I've posted some pictures of my covers for my Cricut and sewing machine, but I thought I'd share a picture of my Cuttlebug cover.  I made this to go with my other covers.  I had this embroidered at the same place that my other covers were embroidered.

I made a slit in the side with the handle and put grommets in the bottom of the slits.  I used a piece of sheer green ribbon threaded threw the grommets to tie it together.

Hope you like it!  Let me hear from you if you do.  Thanks for looking . . .


Thursday, February 9, 2012

So soon?

Yup . . . I'm back.  I started thinking about all those projects and things I'd made for weddings, peers, and stuff and thought I'd share.  After all, that's what this blog is about, right?

Anyway, when I finally got my own craft room, I decided that I wanted a way to keep dust out of a few of my prized crafting/sewing tools.  I had no pattern - just measured, cut, and stitched these up.  Then I took them to a local print and embroidery shop (Who Dey) for the embroidery.


On the right, I have a pocket for bias tape or whatever is in a fairly wide package.  On the left, I have a set of double pockets (taller) that are used to house my pinking shears and fabric scissors.  If you can tell, my pinking shears have a green handle to match the cover (love it!)

Anyway, the back right corner is finished, but not seamed.  I did that to allow the power cord freedom to come out from my machine without having to fold it and risk it coming unplugged.

I used brown bias tape to finish all the edges and the embroidery is in dark brown also.  While I'm not really the "matchy-matchy" kind of person, I do like the cohesiveness of the look.  It brings all the other covers into alignment and makes my craft space a bit more organized feeling.  Notice I said "feeling".  lol

I'll try to be back in the next week or so with another picture of the "organization" in my craft room.  Until then, I'll be around . . .

Tuesday, June 29, 2010

Ribbon, ribbon, everywhere!

I just saw this question on Tammy's blog at http://www.cricutcritters.com/ and thought I'd show you what I use.

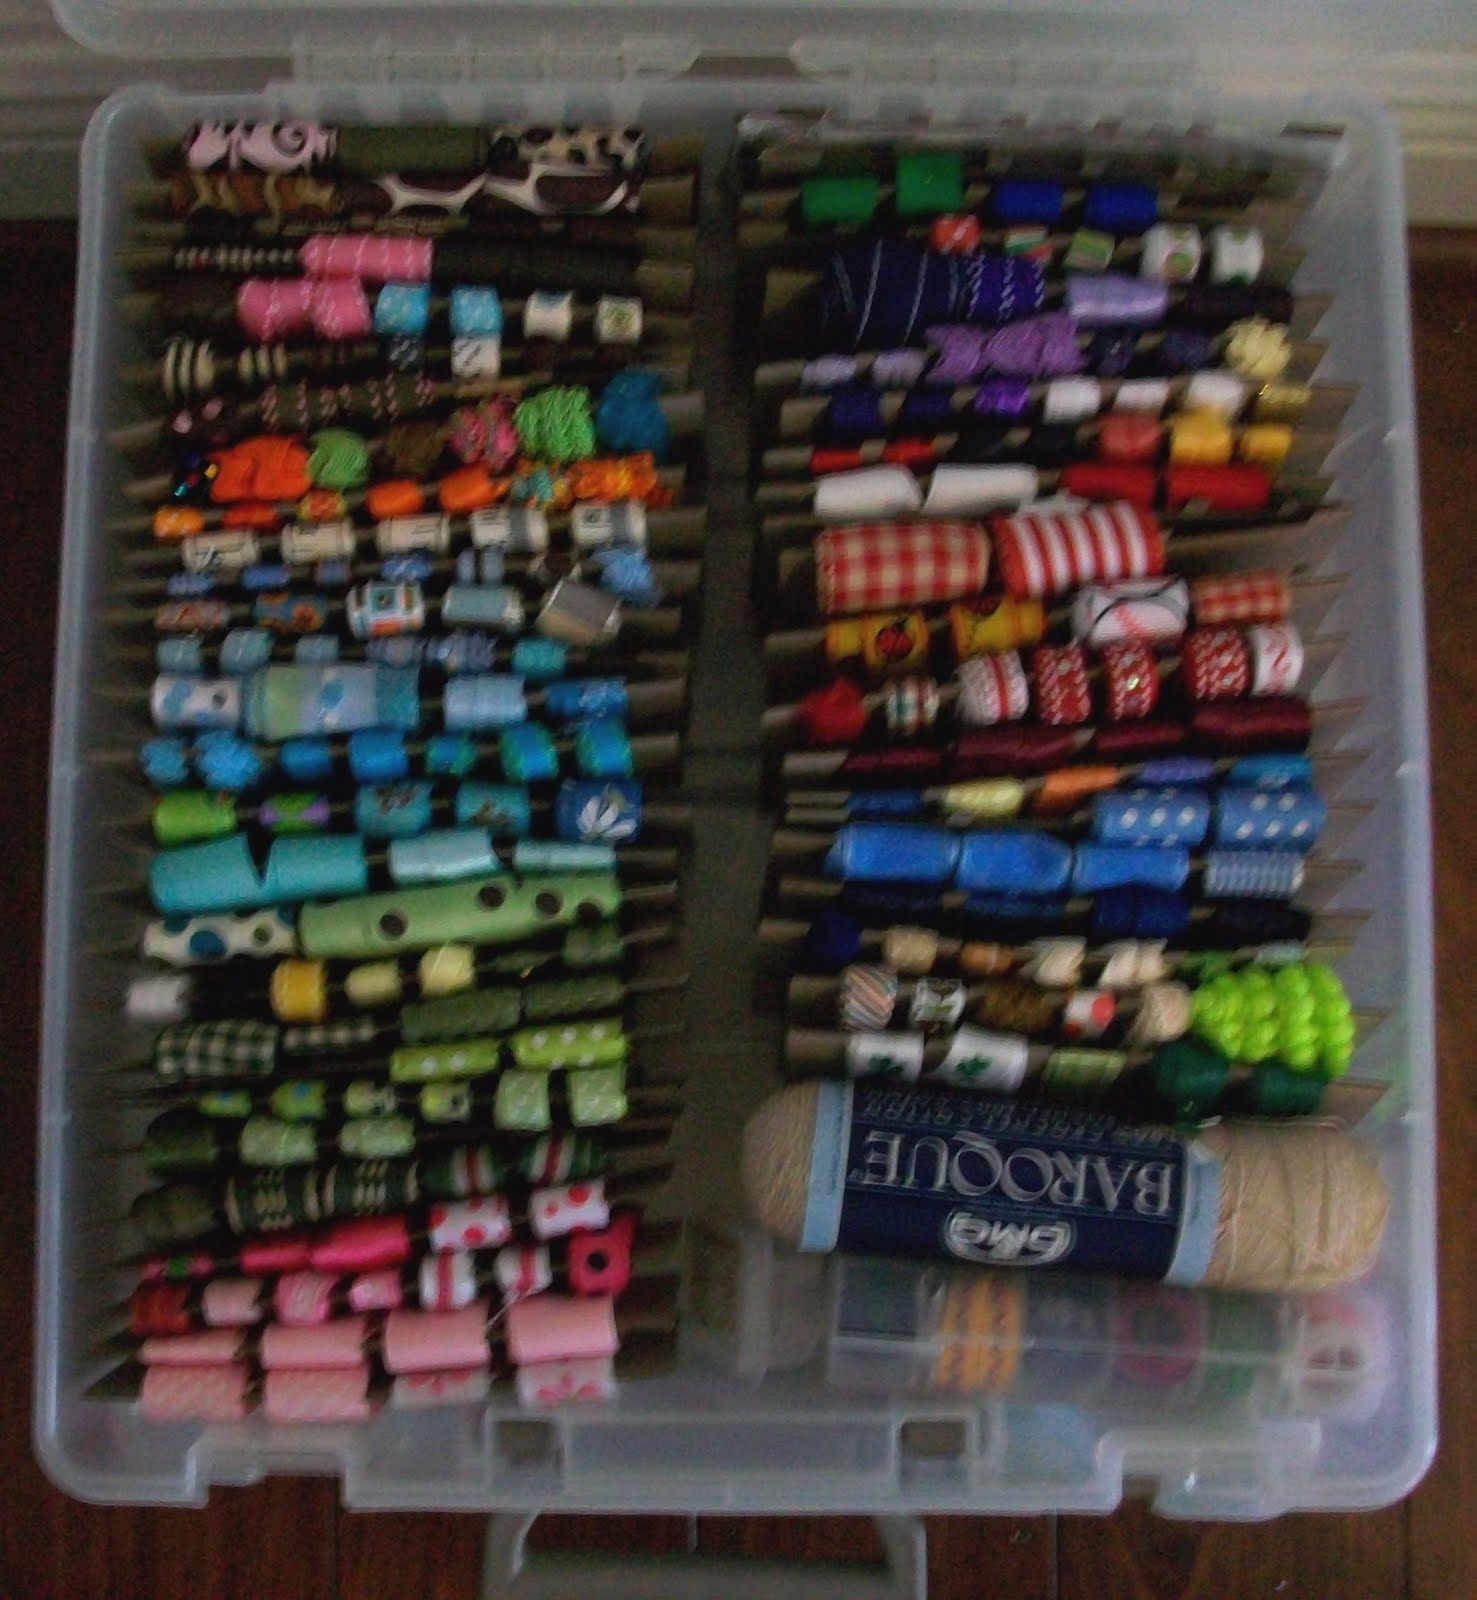
I use an Artbin holder with handles that latches shut to store my ribbon.  These ribbon wraps are from magistical memories and the neat thing about them is that they're portable and organized.  I can take this holder on crops or store it with my other scrapbooking supplies.  Check out the picture above -

As you can see, I have all my ribbon organized by color.  It makes it so much easier to match colors and find the appropriate size.  The ribbons are secured by tiny straight pins that I picked up from Michaels.


Remember, look in my archives under "Organization Stuff" to find the details.  If you need more info, let me know and I'll try to email you.

Aren't they the coolest ever???  ;-D

Sunday, May 30, 2010

Ribbon Wraps

Boy, this is a first! Since I only post every couple of months, posting two times in one day is amazing! But . . . I decided that this secret was too good to keep to myself.

You need a scrapbooking paper container with handles from Artbin and these wonderful ribbon wraps. For ages, I have hunted for a way to organize and contain my ribbons. I have tried spools, bags, the EZ Ribbon holder - all sorts of things. This method has proven to be the most efficient and portable.

Check out the link here to see what I'm talking about. On the left sidebar is a category called "Ribbon Wraps". That's where the REAL treasure is.

If you're wanting a good way to store and organize your ribbon, check it out. It's worked beautifully for me and a couple of my scrapbooking buds.